Swift: Underlined UITextField Tutorial
- 2 minsFor a recent client project, built using Swift, underlined text fields formed part of the design brief. Whilst this is super simple in CSS (border-bottom: 1px solid #ddd), I was unsure of how to do the same with Swift.
After some playing around I settled upon creating an extension to perform the task. This is due to the ease of writing, using and maintaining an extension as opposed to a fully fledged sub class.
Here I share my super simple and reusable extension to the UITextField Class, which can be used upon any text field within the application.
What is a Swift Extension?
An extension is a simple yet powerful way to add functionality to almost anything code related within the iOS framework.
Extensions add new functionality to an existing class, structure, enumeration, or protocol type. This includes the ability to extend types for which you do not have access to the original source code.
In essence, it allows you to extend a classes functionality without the headaches which can arise with over eager subclassing. My personal favourite use of extensions is to package common methods (e.g date functions) together into a CocoaPod for inclusion in any project. Whilst this is a slight technical overhead, I’m sure this has saved me numerous developer hours.
Creating the Swift Extension
Create a new file by going to File > New > File. Select Swift Class, naming the new class ‘Helpers’ when prompted. Remove the class definition from the new file, leaving it completely blank, apart from the default comments (if you wish).
Next we add the extension ‘wrapper’. Within the file add the following:
extension UITextField {

    // Next step here
}
The above created a new extension for the UITextField class. Now for the magic. Add the following function definition to your extension block.
func underlined(){
let border = CALayer()
let width = CGFloat(1.0)
border.borderColor = UIColor.lightGrayColor().CGColor
border.frame = CGRect(x: 0, y: self.frame.size.height - width, width: self.frame.size.width, height: self.frame.size.height)
border.borderWidth = width
self.layer.addSublayer(border)
self.layer.masksToBounds = true
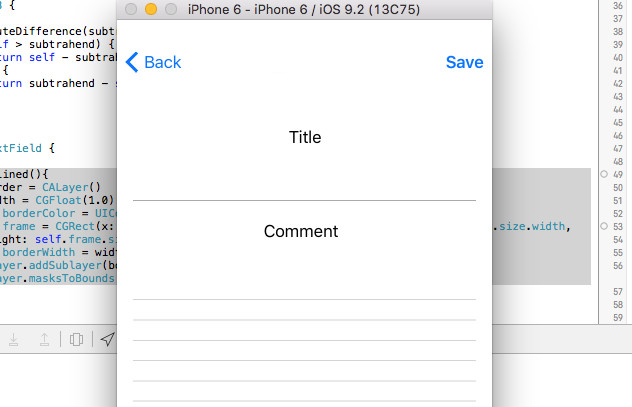
}This creates a layer to use as the border / underline, setting the width, color and frame dimensions before adding it as a sublayer. It’s good to remember that self, in this context, refers to the instance of an object that this method is being called upon. Speaking of which, we can now use our extension as follows:
    @IBOutlet weak var noteTitle: UITextField!

    override func viewDidLoad() {
        noteTitle.underlined()
    }
Summary
How easy was that? We’ve just created an extension to the UITextField in just a couple of minutes.
You can find the code for this tutorial as a handy gist here, where you can also suggest updates and improvements. Let me know what you think by getting in touch on Twitter.